
My Latest Project
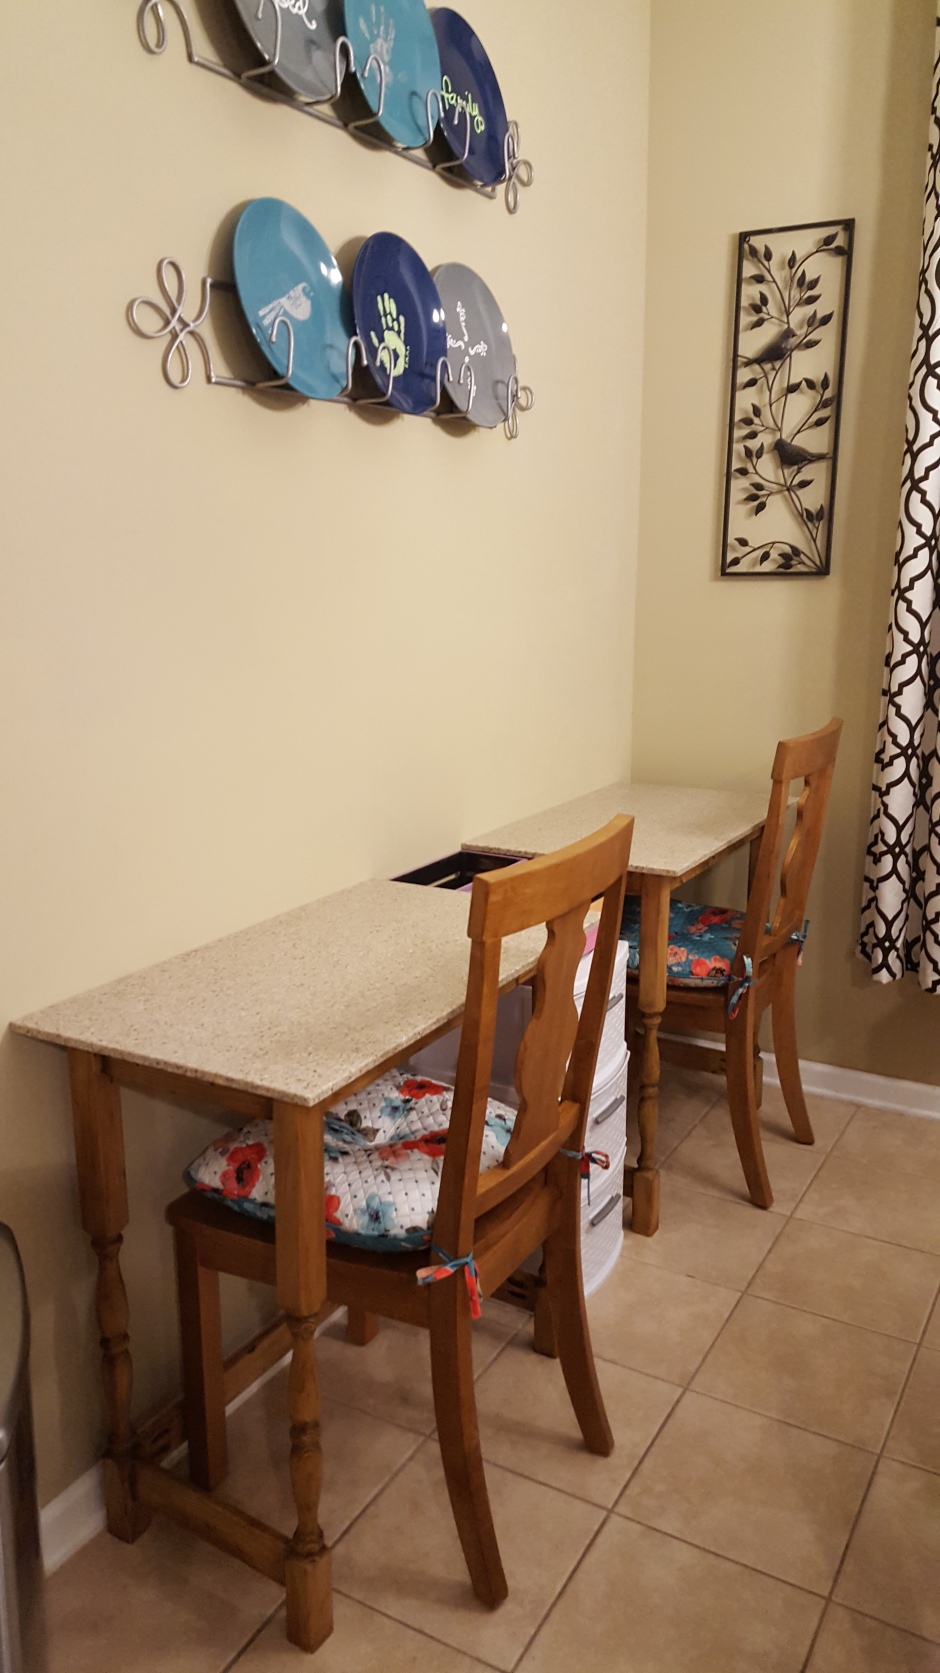
As I mentioned, I have two kids and both girls will be at the same school next year (yay!). My oldest will be in 3rd grade and my youngest in Kindergarten. Right now, my oldest does her homework at the kitchen table, which has worked OK so far. Usually she does her homework while I’m cooking, will have to stop, put everything up for dinner and then resume homework after we eat and cleaned up the table. Now, with two kids doing homework, clean-up is twice the effort. With their own workstations, their work can be put on hold and remain undisturbed while we enjoy dinner together.
I’m relocating my corner command center and reusing that space for a homework station. It’s a relatively short wall and fortunately the girls don’t take up much space. I looked for suitable desks that would give them enough room to do their work or project but not eat up half of the kitchen nook. I couldn’t find one I liked. The solution – I made them each their own desk. The chairs are chairs I found at Walmart.com that kinda sorta match our kitchen set.
The idea for the desk was going to be a simple parsons-style writing desk with a wooden desktop. I went to Home Depot to look for the supplies, lo and behold, I found two granite slabs measuring 18” x 31” on clearance. I’m a sucker for clearance. So now, the wooden desktop was replaced with granite slabs. In the lumber section, I saw stairway spindles, like the ones you would use on a patio or deck. Each measured 2 x 2 x 36, I needed to cut them down so it is the height of a desk instead of a counter. I also picked up some 1 x 3s to serve as braces on the desk so it doesn’t wobble around. I had left over polyurethane stain from another project. I also needed a table saw, my orbital sander, Liquid Nails, 1 1/4 inch self-tapping screws, and my mini Kreg jig for the pocket holes (coolest drill bit ever!)
In total, this project could’ve taken a day to complete. I spread it out over 4 days (after work, after dinner, after the girls went to bed) spending an 1-2 hours each day on it.
Supply List for one desk (all measurements are in inches):
4 – 2x2x36 spindles cut down to 29.5 in height.
4 – 1x3x11 for short braces
2 – 1x3x12 ¼ for braces to hold up desktop
4 – 1x3x24 for long braces
1 – 18×31 granite slab – if granite’s not available, you can cut down plywood to that size.
Box of 1 ¼ in self-tapping screws (I prefer these so I don’t have to pre-drill holes.)
Mini Kreg jig
Orbital Sander
Table saw
Your favorite polyurethane stain (I used Varathane Stain and Poly in Golden Oak)
Sponge brush for applying the stain (an old t-shirt will work too)
Liquid Nails
After everything was cut and sanded, I drilled the pocket holes using the mini Kreg jig. I drilled two holes for each end of each of the 1×3 boards.
I assembled the 1×3 boards to the spindles and attached the braces to the inside of the top of the desk base so the desk top had something to rest on (also needed the extra surface area to glue down the granite slab.)
Stained the base of the desk and finally glued down the top.
